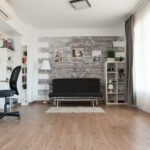
 Flintstones C – 5mm / 20 Mil
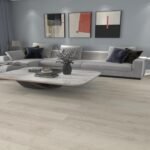 Peaks Plank – 5.5mm / 20 Mil
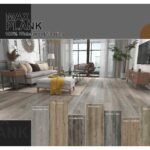 Savannah C – 5mm / 20 Mil
 Novels – 6.5mm / 22 Mil
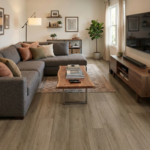 Sufian – 8mm / 28 Mil
 Classic Jenna – 8mm / 20 Mil
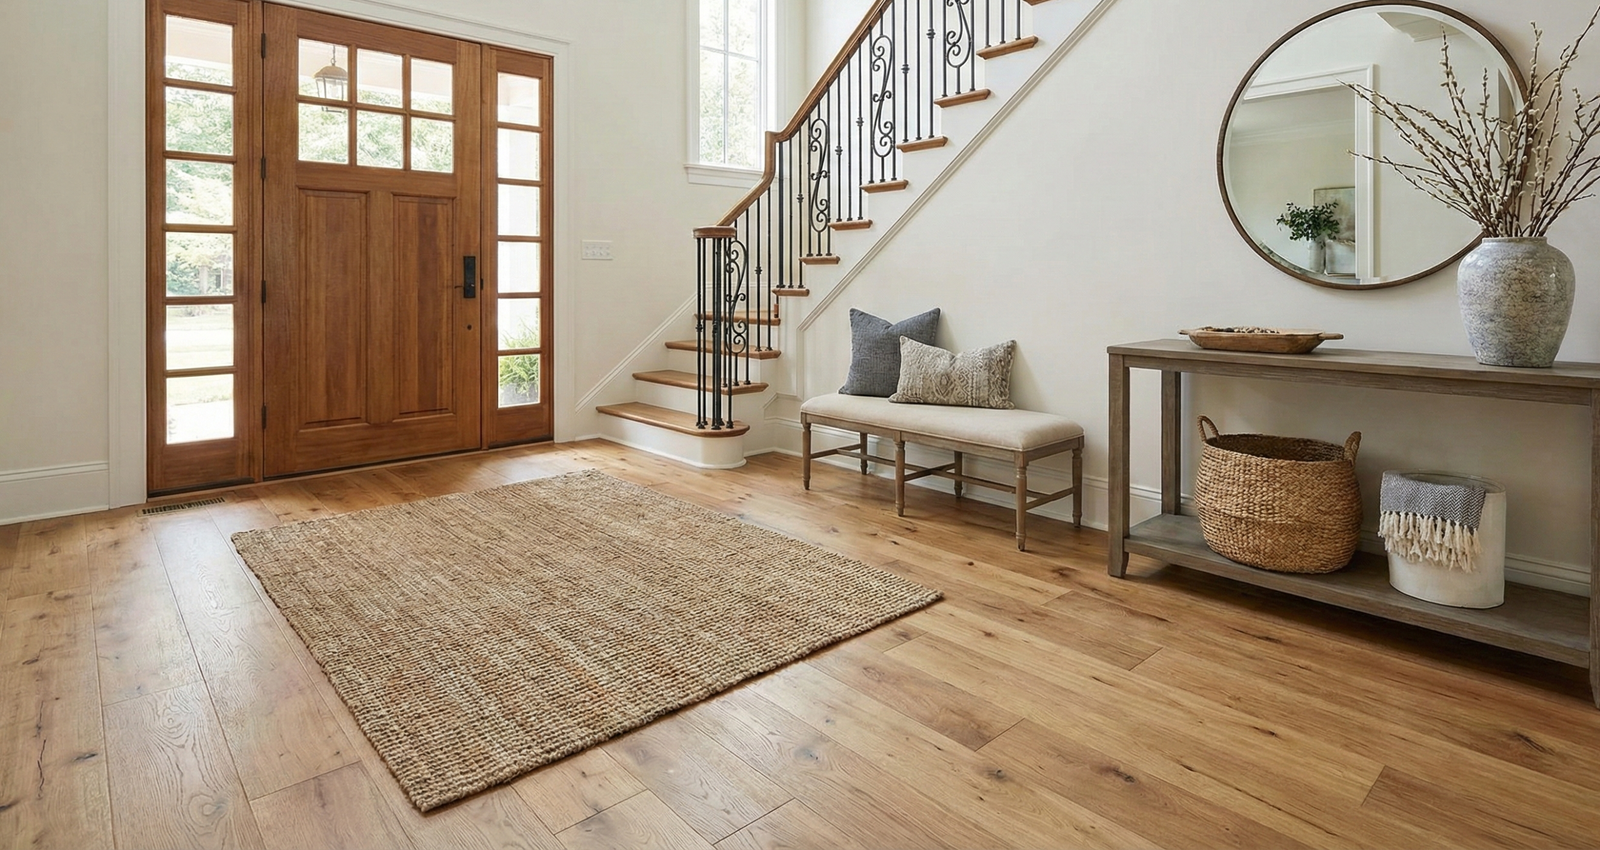
The Complete Guide to Luxury Vinyl Plank Flooring
Expert Installation Tips, Subfloor Compatibility & Everything You Need to Know
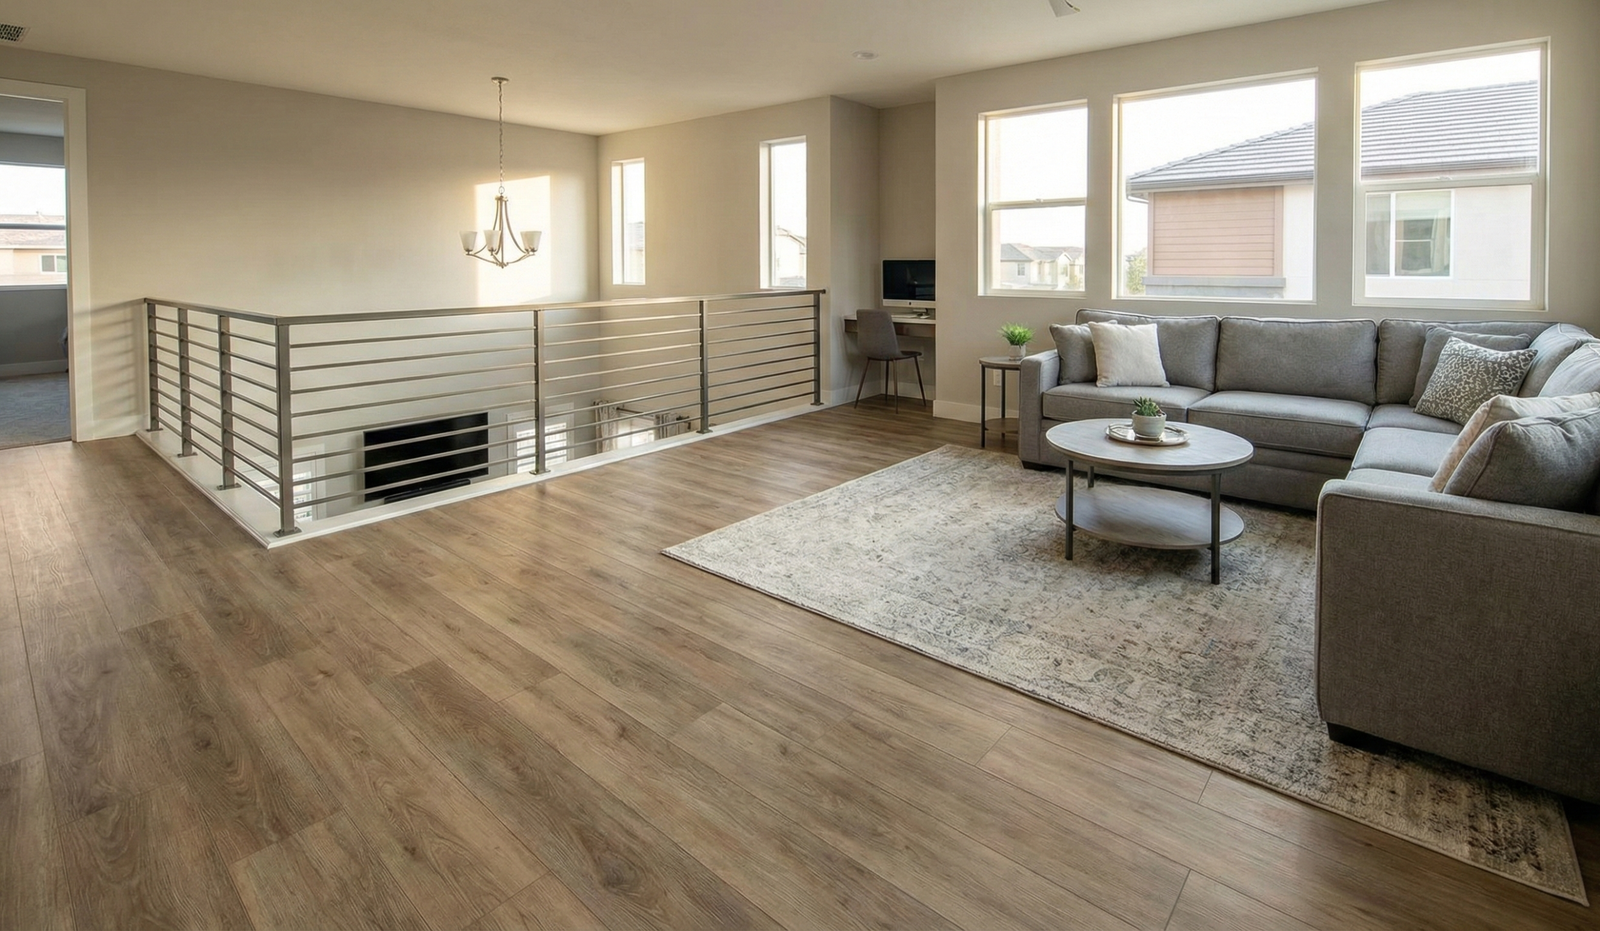
Luxury Vinyl Plank (LVP) flooring has become one of the most popular choices for homeowners across the country — and for good reason. It’s durable, waterproof, visually stunning, and designed to stand up to the demands of real life. At KS Luxe Floors, we specialize in helping you choose the perfect LVP and ensuring it’s installed with the care and precision it deserves.
Whether you’re renovating a single room or transforming your entire home, this guide covers everything you need to know — from pre-installation planning and subfloor preparation to installation best practices and working over existing floors.
Part 1: Professional LVP Installation — What Goes Into Getting It Right
A beautiful LVP floor doesn’t happen by accident. Behind every flawless finish is careful planning, the right materials, and skilled hands. Here’s what professional installation at KS Luxe Floors looks like from start to finish.
The Professional Tool Kit
Achieving a truly professional result requires more than just the planks themselves. Our installation team arrives fully equipped with precision tools designed to protect your new floor and deliver a seamless result:
- Tape Measure & Layout Tools — For precise room measurements and layout planning before a single plank is placed.
- Tapping Block — Protects plank edges when joining rows, ensuring a snug, damage-free fit.
- Pull Bar — Allows planks to be clicked and locked perfectly in tight spaces near walls and obstacles.
- Rubber Mallet — Used in combination with the tapping block for tight, gap-free seams throughout.
- Precision Saw & Utility Knife — For clean, accurate cuts around doorframes, vents, and complex angles.
- Moisture Meter & Level — To verify subfloor conditions before installation begins — a step many overlook but none should skip.
5 Critical Steps Before Installation Begins
- Acclimate the Planks
LVP planks should be brought into the installation space at least 48 hours in advance. This allows them to adjust to the room’s temperature and humidity, preventing expansion, contraction, or gapping after installation.
- Prepare the Subfloor
The golden rule of LVP installation: the subfloor must be clean, flat, and dry. Any bumps, dips, or debris larger than 3/16 of an inch over a 10-foot span must be addressed before a single plank is laid. A poor subfloor is the number one cause of flooring failures.
- Plan the Layout
A professional layout plan prevents awkward narrow cuts at walls and ensures the floor looks intentional and balanced. We always avoid ending rows with slivers less than 6 inches wide and carefully plan the starting row to account for the room’s dimensions.
- Leave Expansion Gaps
LVP is a floating floor — it moves with temperature changes. A 1/4-inch expansion gap is maintained around the entire perimeter (walls, cabinets, door frames). These gaps are concealed beneath baseboards and trim, but they’re essential for long-term stability.
- Stagger the Seams
Just like brickwork, LVP seams should be staggered by at least 6 to 8 inches between rows. This creates a natural, realistic look while adding structural strength to the entire floor. Every plank end joint is carefully planned before installation proceeds.
KS Luxe Floors Commitment: We work exclusively with LVP brands renowned for precision click-lock systems and consistent quality. Before our team leaves your home, every plank is checked, every seam inspected, and every gap verified because your floor should be perfect, not just good enough.
Part 2: Can LVP Be Installed Over Your Existing Floor?
One of the most frequently asked questions we receive at KS Luxe Floors is whether LVP can go directly over an existing floor — and in most cases, the answer is yes. This is one of LVP’s greatest advantages, saving you the time, cost, and disruption of a full floor removal.
However, the key is that the existing surface must meet specific requirements. Here’s our practical guide:
The Three Non-Negotiable Requirements
- Smooth, Flat & Level — No significant bumps, ridges, cracks, or height variations.
- Firmly Attached — No loose tiles, lifting edges, squeaky boards, or movement of any kind.
- Clean & Dry — Free from wax, grease, adhesive residue, or any moisture.
Floor-by-Floor Installation Guide
✅ Over Ceramic or Porcelain Tile
Yes — LVP is an excellent solution for covering dated, cold, or damaged tile. All grout lines must be filled and flattened with a leveling compound to prevent the pattern from telegraphing through to your new floor. All tiles must be firmly adhered with no cracking or movement.
✅ Over Vinyl Sheet or VCT Tile
Yes — provided the vinyl is fully adhered, smooth, and non-cushioned. Any wax or gloss finish must be removed with a deglosser before installation to ensure a proper bond with the underlayment.
✅ Over Hardwood
Yes — this is actually one of our favorite applications. Installing LVP over original hardwood preserves the underlying wood while giving your space a completely fresh look. All boards must be nailed down securely, and any ridges, cupping, or significant unevenness must be sanded smooth.
✅ Over Concrete
Yes — and in fact, concrete is the ideal subfloor for LVP. It must be level, crack-free, and properly assessed for moisture. Depending on conditions, a moisture barrier may be required — many premium LVP products from KS Luxe Floors include this as an integrated underlayment.
❌ Over Carpet
No — carpet and its padding must always be removed before LVP installation. LVP requires a rigid, stable surface. Installing over carpet causes instability, unlocking of planks, and will void most manufacturer warranties.
⚠️ Over Laminate — Proceed with Caution
Only if the laminate is glued down (not floating), perfectly flat, and fully stable. In most cases, we recommend removing it entirely. Floating laminate beneath LVP creates a double-floating situation that leads to instability and warranty issues.
Important: Always consult your specific LVP manufacturer’s installation guidelines for compatibility requirements over existing floors. The team at KS Luxe Floors will review these with you before any work begins.
The KS Luxe Floors Difference
At KS Luxe Floors, we don’t just sell flooring — we deliver a complete experience from product selection through professional installation. Our team will assess your specific space, recommend the right product thickness and type for your subfloor conditions, and install your new LVP with the precision and attention to detail it deserves.
- Expert product guidance tailored to your space and lifestyle
- Thorough subfloor inspection and preparation before installation
- Precision installation by experienced flooring professionals
- Premium LVP collections from brands trusted for durability and beauty
- Full transparency on timelines, costs, and what to expect every step of the way
Ready to Transform Your Space?
A stunning, long-lasting LVP floor starts with the right team. Whether you’re renovating a kitchen, a bedroom, or an entire home, KS Luxe Floors is here to make the process seamless — from the first consultation to the final plank.
Visit KS Luxe Floors today to explore our premium LVP collections and speak with our flooring specialists. Let us bring your vision to life.
KS Luxe Floors — Where Luxury Meets Lasting Quality.